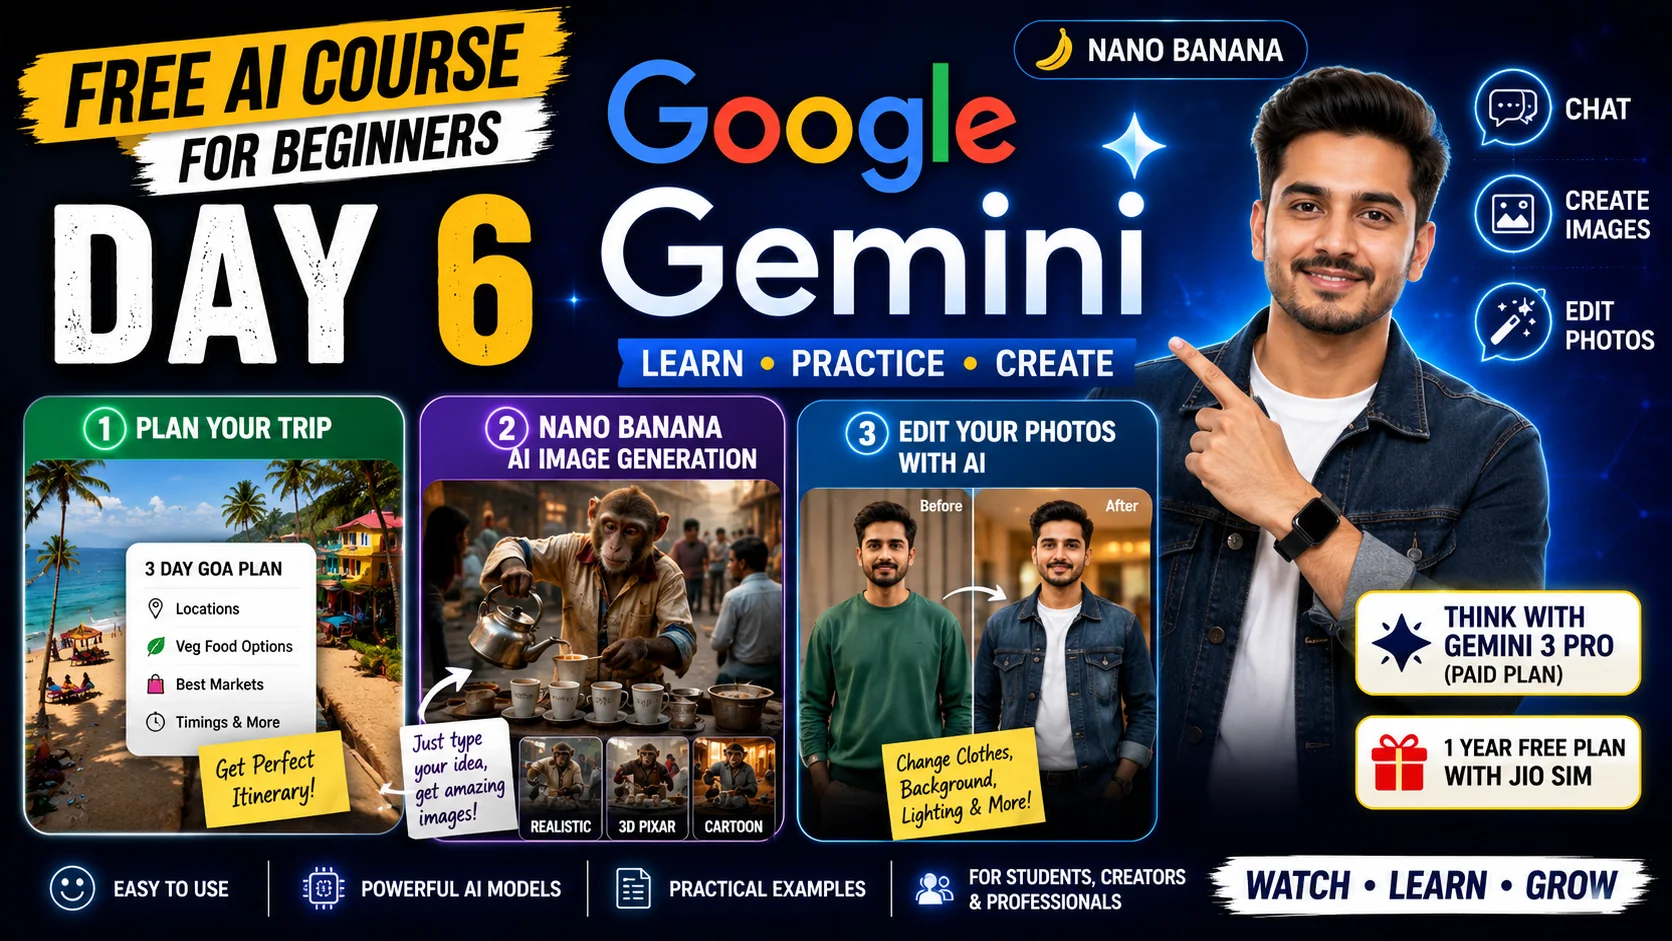
I had to plan a 3-day Goa trip and did not know where all to go, so I wrote one prompt in Google Gemini. Within a few seconds a complete day-by-day plan was in front of me, with names of places to eat and timings. Then, in the same Gemini, I made images and edited my own photo. This post has all of that, one task at a time, from a complete beginner’s point of view.
What Gemini is and how to start
Google Gemini is Google’s AI tool. A language model works inside it, the same thing that is in ChatGPT. You can ask it questions, get text written, get a script made. We have already explained what an LLM is in the earlier posts, so here we go straight to using it.
You can run it on your phone as well as on a PC. Search “Google Gemini” on Google and open the gemini.google.com link. Sign in there or create an account. “Ask Gemini” will be written on the screen, and that is the place where you type your prompt. Exactly like ChatGPT.
We have already explained how to write prompts in the earlier post. Only one thing needs remembering: give a role first, then details. The first example below follows the same method.
First task: a 3-day Goa trip plan
Suppose you are going to Goa for 3 days. You are vegetarian and you also want to shop. I wrote this prompt:
Act as a professional travel planner. Make a three-day Goa travel plan. Also tell me the locations, vegetarian food options with the best places, and the best markets, because I also want to shop well, so tell me the best markets, timings, and vegetarian food options.
In this, I first gave a role (travel planner) and then clearly said what I wanted: places to visit, vegetarian food, markets and their timings. As soon as I hit Submit, Gemini made a plan named “Three Day Vegetarian Goa Delight Itinerary,” split into Day 1, Day 2 and Day 3.
On Day 1, it suggested breakfast at 8:00 AM at Navtara Veg Restaurant in North Goa. Then Baga Beach at 9:30 AM, and a fort at 12:00 PM. For the sunset at 3:00 PM, Chapora Fort came up, the same fort that was shown in the film “Dil Chahta Hai.” Dinner at 8:30 PM was mentioned separately.
At the end of the plan there was also a complete list of vegetarian food, with what each place is known for. For example, Little Italy for pizza and pasta, and The Rasoda for Maharaja Thali.
In my view, Gemini builds the structure of a plan very well, meaning what to do on which day and at what time. But matching the restaurant names, timings and whether they are open on Google Maps once is necessary, because AI sometimes writes the name of a place that has either closed down or does not exist at all.
Nano Banana: write text, get an image
Inside Gemini there is one more tool, Nano Banana. It is an AI model that makes images. Earlier we wrote text and got text. Now we write text and get an image.
A banner was visible at the top of the screen: “Nano Banana Pro is now on Gemini 3 Pro.” These names appeared on my screen exactly like this, and names like these keep changing. To make an image, there is an icon with a banana and a “Create Image” option. Press it and write your prompt.
Suppose you want a scene like a housing society in Delhi, where people live in flats. Such a photo is not easily found on Google. Here you do not need to give a role, like “you are a photographer.” Here, directly write the details you want to see in the picture.
My prompt was: “Create a cheerful Indian society in New Delhi.” In it, I added the Gokuldham Society from “Taarak Mehta Ka Ooltah Chashmah” as a style reference. Then I said who should appear: families, aunties, uncles and children, that is, the Tapu Sena. They should be standing and chatting in the society compound, with buildings, scooters and plants around. And the mood should be “bright, colorful and happy.” On Submit, a very accurate-looking picture of a society was made.
This is not only a copy of existing things. You can make things that do not exist at all. I tried a prompt in which a monkey wearing a torn kurta-pajama is selling tea from an old cart in the old lanes of Delhi, and people near him are drinking tea. It was a simple prompt, and the picture got made.
Changing ratio and style
The image made first was square. If you want a wide image like YouTube, write “16:9 ratio” at the end of the prompt. If you want a tall image like a phone or reel, write “9:16.” I added “16:9 ratio” at the end of my prompt and hit Submit.
You can change the style in the same way. Whether you want cartoon or completely real-looking, write it at the start of the prompt. I started with “Create a realistic scene of...” and the monkey, the torn clothes, the tea cart and the people around all looked real. Then I copied the same prompt (there is a copy icon next to every prompt) and wrote “3D Pixar style” in place of “realistic.” This time the same scene came out in a 3D animation style, and it looked quite good.
One more small thing. You do not need to write the prompt again. Pick up the same prompt with the copy icon and change just one word. This saves time and lets you see one scene in different styles.
Free and paid plan difference
This part is based on my own test. On the free plan I ran the 16:9 prompt, but the image kept coming out square. My guess is that on the paid plan this ratio works more reliably, because there you get a bigger “Thinking” model. On my screen it was shown under the name “Think with Gemini 3 Pro.” On the free plan I got only the “Fast” option.
I ran the same prompt on the “Fast” option too, and the ratio part went completely wrong. In my view the reason is that Fast is a lighter model. Even so, the image quality was good, only the shape did not come out as I asked.
On the free plan there is a limit on how many images you can make in a day. In my test I maybe got three or four, but that count is not certain. This limit keeps changing, so check it yourself in your account.
One more thing I heard: there is talk of a one-year plan being free on a Jio SIM. These offers keep changing and do not apply to everyone, so check the official page of Jio or Google once.
Editing your own photo
Earlier, photos were edited with Photoshop or PicsArt. Now this can be done inside Nano Banana just by writing a prompt. My steps were these:
- Press the “+” (Add Files) button and upload your photo.
- Suppose in the photo you are wearing a green sweatshirt. Write: “Make me wear a denim jacket and white T-shirt.”
- Submit. In my case the face and background stayed as they were, and only the clothes changed to a denim jacket and a white T-shirt.
- Now, to change the background, write: “Change the background to a luxury five-star hotel room.” The background changed.
- If you keep writing below in this same chat, the same image keeps improving. If you want to make a completely new image, use “New Chat” on the side.
Here I will also tell you one of my misses. After changing the background, the lighting did not match, because the light in the room was on one side and on me from the other. I wrote: “Match the room lighting with me so that it should look realistic and not edited.” This time the warm tone of the room came onto me as well, and the photo looked real.
At the end I asked for a DSLR-like blur: “Add blur effect to the background so that it looks like the image is captured with a DSLR camera using 50mm.” Earlier the background was fully sharp, now it became softly blurred (bokeh).
Common mistakes and their solutions
First mistake: giving a role in an image prompt too. In an image, the detail you want to see works better than a role, like who, where, and what mood. Second mistake: writing the ratio or style in the middle of the prompt. Write the ratio at the end and the style at the start.
Third mistake: not paying attention to lighting after an edit. If the edit looks fake, give a separate prompt to match the lighting. Fourth mistake: stopping at one prompt. Keep giving follow-ups in the chat, and the same image will keep improving.
Limitations, privacy and safety
First, the thing that did not work in my test: changing the ratio on the free plan. So if you want an image in a particular size, do not rely on the free plan. Try it once first.
Thinking before uploading a photo is necessary. If you put in your photo, it goes to that tool, and every tool has a different privacy policy. Do not upload a photo you do not want to show anyone. Editing someone else’s photo without their permission is not right, and making a false picture in someone’s name is not only wrong, in some places it can also become a legal problem.
Also remember that an image made by AI is not real. Spreading it as a real photo is wrong. And Gemini’s trip plan is also an AI estimate, so matching the food places and timings yourself is necessary.
My experience
For me, the most useful thing turned out to be the trip plan, because it went straight into real work. Making images was fun, but it does not come into daily work as much as making a plan does.
One of my weaknesses was that in the beginning I ran the 16:9 prompt on the free plan and thought the mistake was in the prompt. The real matter was that on the free plan the ratio part does not work reliably. My second mistake was the lighting, when I changed the background and assumed the job was done, while the photo looked fake.
In my view, the photo edit part felt the best, because the face and the other things stayed as they were. This is my own experience, and it will not be the same on every photo.
Who this is for and who it is not for
This post is for people who have already used ChatGPT and now want to try Gemini, because the method of the two is similar. It is also for people who want to make a trip or shopping plan quickly, because the Goa example works directly. And for people who do not know Photoshop but want small changes in a photo, like clothes or background.
This post is not for people who do professional photo editing or design work, because they need tools with exact control. It is also not for people who want exact information about plans or image limits, because that keeps changing and is not certain here.
Disclaimer
This post is only for a beginner-level understanding. Plans, prices and free limits keep changing, so check the official page before making a decision. Do not rely on AI’s answer alone.
ChatGPT Full Tutorial - Master It in Just 10 Minutes!
What Is Prompt Engineering? How to Actually Talk to AI (Free AI Course – Day 4)